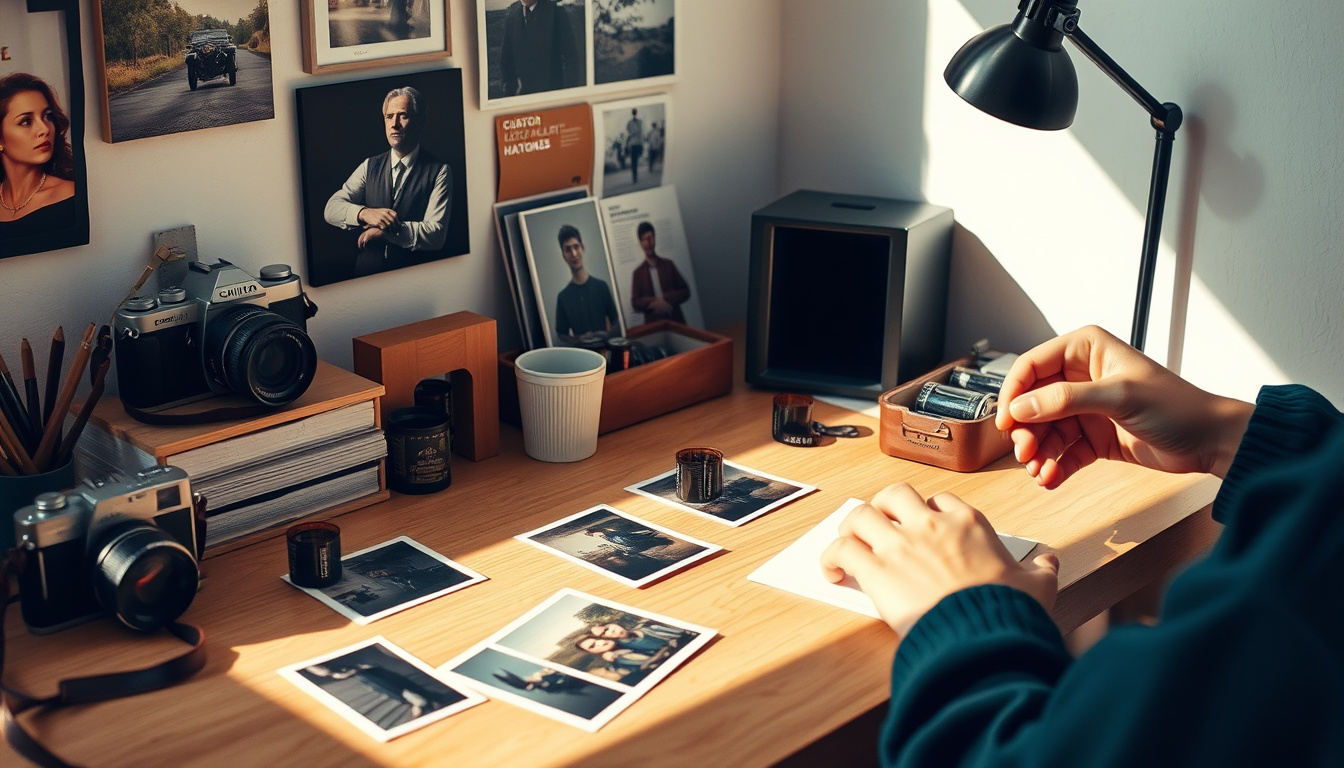
Are you ready to dive into the nostalgic world of DIY film photography for beginners? In a time when digital photography dominates, film photography offers a unique and artistic experience that many enthusiasts find rewarding and fulfilling. This article will guide you through the basics of film photography, from understanding the fundamentals to choosing the right equipment, and even developing your film at home. Whether you’re a complete novice or have dabbled in photography before, you’ll find practical tips and insights to help you embrace this captivating medium. Let’s embark on this creative journey and rediscover the beauty of capturing moments on film.

Key Takeaways
- Film photography requires a solid understanding of its basic principles.
- Selecting the right camera and type of film is crucial for achieving desired results.
- Having the essential gear and tools can enhance your DIY film photography experience.
- Developing and scanning your film at home can be a rewarding and cost-effective process.
- Experimentation is key to refining your skills and finding your artistic voice in film photography.
Understanding Film Photography Basics
Engaging in DIY film photography for beginners not only presents an exciting way to immerse oneself in the world of photography, but it also allows individuals to appreciate the art form on a more tactile level. This traditional yet increasingly popular method of capturing images requires an understanding of various concepts such as exposure, composition, and the unique characteristics of film. Beginners can start by exploring the different types of film cameras available, including point-and-shoot models for simplicity or manual SLRs for a more hands-on approach. Learning how to load film, understand ISO settings, and practice developing techniques at home are essential steps in the DIY film photography process. Additionally, understanding the nuances of light and how it interacts with film can significantly enhance the quality of the photographs produced. By embracing these fundamentals, aspiring photographers can cultivate their skills and unleash their creativity, all while enjoying the tangible nature of film.
Choosing the Right Camera and Film
When diving into the world of DIY film photography for beginners, the first step is choosing the right camera and film. For newcomers, it’s essential to select a camera that matches your comfort level and photographic aspirations. A great starting point is a simple point-and-shoot or a beginner-friendly manual camera that allows you to learn the fundamentals without overwhelming features. Look for options like the Canon AE-1 or the Pentax K1000, which are adored for their reliability and ease of use. Once you have your camera, selecting the right film is equally crucial. Beginners should consider starting with color negative film, such as Portra 400 or Fujifilm Superia X-Tra, as they offer forgiving exposure latitude and vibrant colors. Alternatively, black and white film like Ilford HP5 Plus is perfect for those wanting to explore the classic aesthetic with simpler development processes. By choosing the right camera and film, you set a solid foundation for your DIY film photography journey, allowing you to explore your creative vision and capture stunning images.
‘The camera is an instrument that teaches people how to see without a camera.’ – Dorothea Lange

Essential Gear and Tools for DIY Film Photography
When diving into the world of DIY film photography for beginners, the right gear and tools are essential to ensure a smooth and enjoyable experience. First and foremost, a reliable film camera is crucial; models like the Canon AE-1 or Nikon FM series are popular for their ease of use and solid performance. Next, invest in quality film; beginners often start with ISO 400 film, as it offers versatility in various lighting conditions. Additionally, a sturdy tripod can enhance stability, particularly for long exposures, while a light meter helps you achieve proper exposure settings without guesswork. Don’t forget to pack your developing kit, which includes chemistry, a film developing tank, and other supplies to process your photos at home. Lastly, a scanner or a high-quality digital camera setup is ideal for archiving your developed negatives, allowing you to share your work conveniently. With these essential tools in hand, you’re well on your way to mastering DIY film photography.
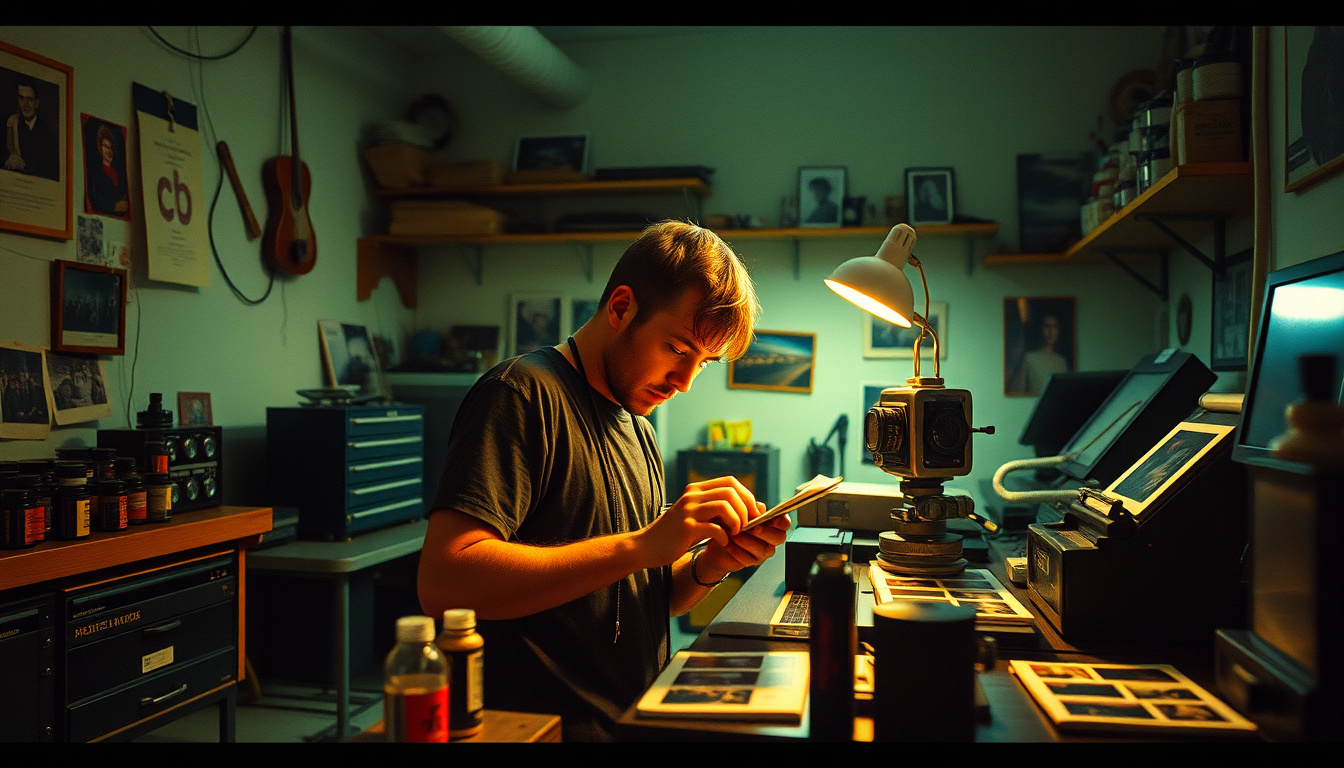
Developing and Scanning Your Film at Home
When it comes to exploring DIY film photography for beginners, developing and scanning your film at home can be an exciting and rewarding practice. This process not only allows you to take full control of your photographic work but also immerses you deeper into the art and science behind developing your prints. To get started, you’ll need a few essential supplies: a darkroom or a light-tight setup, developing tanks, chemicals specific to your film type, and a scanner to digitize your images. By setting up a designated workspace at home, you can streamline the process of mixing chemicals and loading your film into the developing tank. Start by choosing a straightforward black and white film for your first few rolls, as these are generally more forgiving and easier to work with. Once your film is developed, the next step in the DIY film photography process involves scanning your negatives. You can use a dedicated film scanner or even a flatbed scanner with a transparency adapter. This final stage lets you transition your physical film into the digital world, allowing you to edit and share your artistic creations online. By embracing these steps, DIY film photography for beginners becomes not just a hobby, but a fulfilling journey into the realm of image making.
Tips for Experimenting and Improving Your Film Photography Skills
If you’re diving into the world of DIY film photography for beginners, a few experimental tips can significantly enhance your skills. Start by familiarizing yourself with your camera and its settings—understanding exposure, shutter speed, and aperture can transform your shots. Embrace the beauty of natural light; shooting during the golden hour can add a magical quality to your images. Don’t shy away from trying different film stocks; each type offers unique color renditions and grain levels that can enhance your creative vision. Additionally, play around with double exposures and intentional light leaks to produce artistic and unexpected results. Lastly, keep a photography journal to document your settings, thoughts, and progress, which will help you fine-tune your process and style over time. With these tips in mind, you’ll find that your journey with DIY film photography will not only improve your technical skills but also deepen your appreciation for the artistry behind every frame.
Frequently Asked Questions
What is film photography and how does it differ from digital photography?
Film photography involves capturing images on light-sensitive film, while digital photography uses electronic sensors to capture images. Film photography requires a physical chemical process to develop the photos, whereas digital photography allows for immediate viewing and editing.
What type of camera should I start with for DIY film photography?
Beginners are often recommended to start with an SLR (single-lens reflex) camera or a compact point-and-shoot camera. These options provide a balance between usability and the ability to learn the fundamentals of exposure and composition.
What film should I choose as a beginner?
For beginners, it’s advisable to start with ISO 200 or ISO 400 film. These types are more forgiving in varying lighting conditions and offer good versatility for everyday shooting.
Can I develop and scan my film at home?
Yes! With the right tools and chemicals, you can develop black and white film at home easily. Color film requires more specific temperatures and processes but is also possible with practice. Scanning can be done using a dedicated film scanner or using a DSLR setup.
What are some tips for improving my film photography skills?
To improve your skills, practice regularly, experiment with different films and cameras, pay attention to your exposure settings, and analyze your results. Joining film photography communities and seeking feedback can also help you grow and learn.
Leave a Reply